Quickstart Guide
Get your first CDC pipeline running in under 15 minutes. This guide walks you through creating a deployment, adding datasources, and starting replication.
Prerequisites
Before you begin, ensure you have:
- An EZ-CDC account (sign up at portal.ez-cdc.com)
- An AWS or GCP account with admin access
- A PostgreSQL database (source)
- A StarRocks cluster (sink)
Step 1: Create a Deployment
A deployment represents a set of workers in your cloud account (AWS or GCP).
1.1 Log in to the Portal
Navigate to portal.ez-cdc.com and log in.
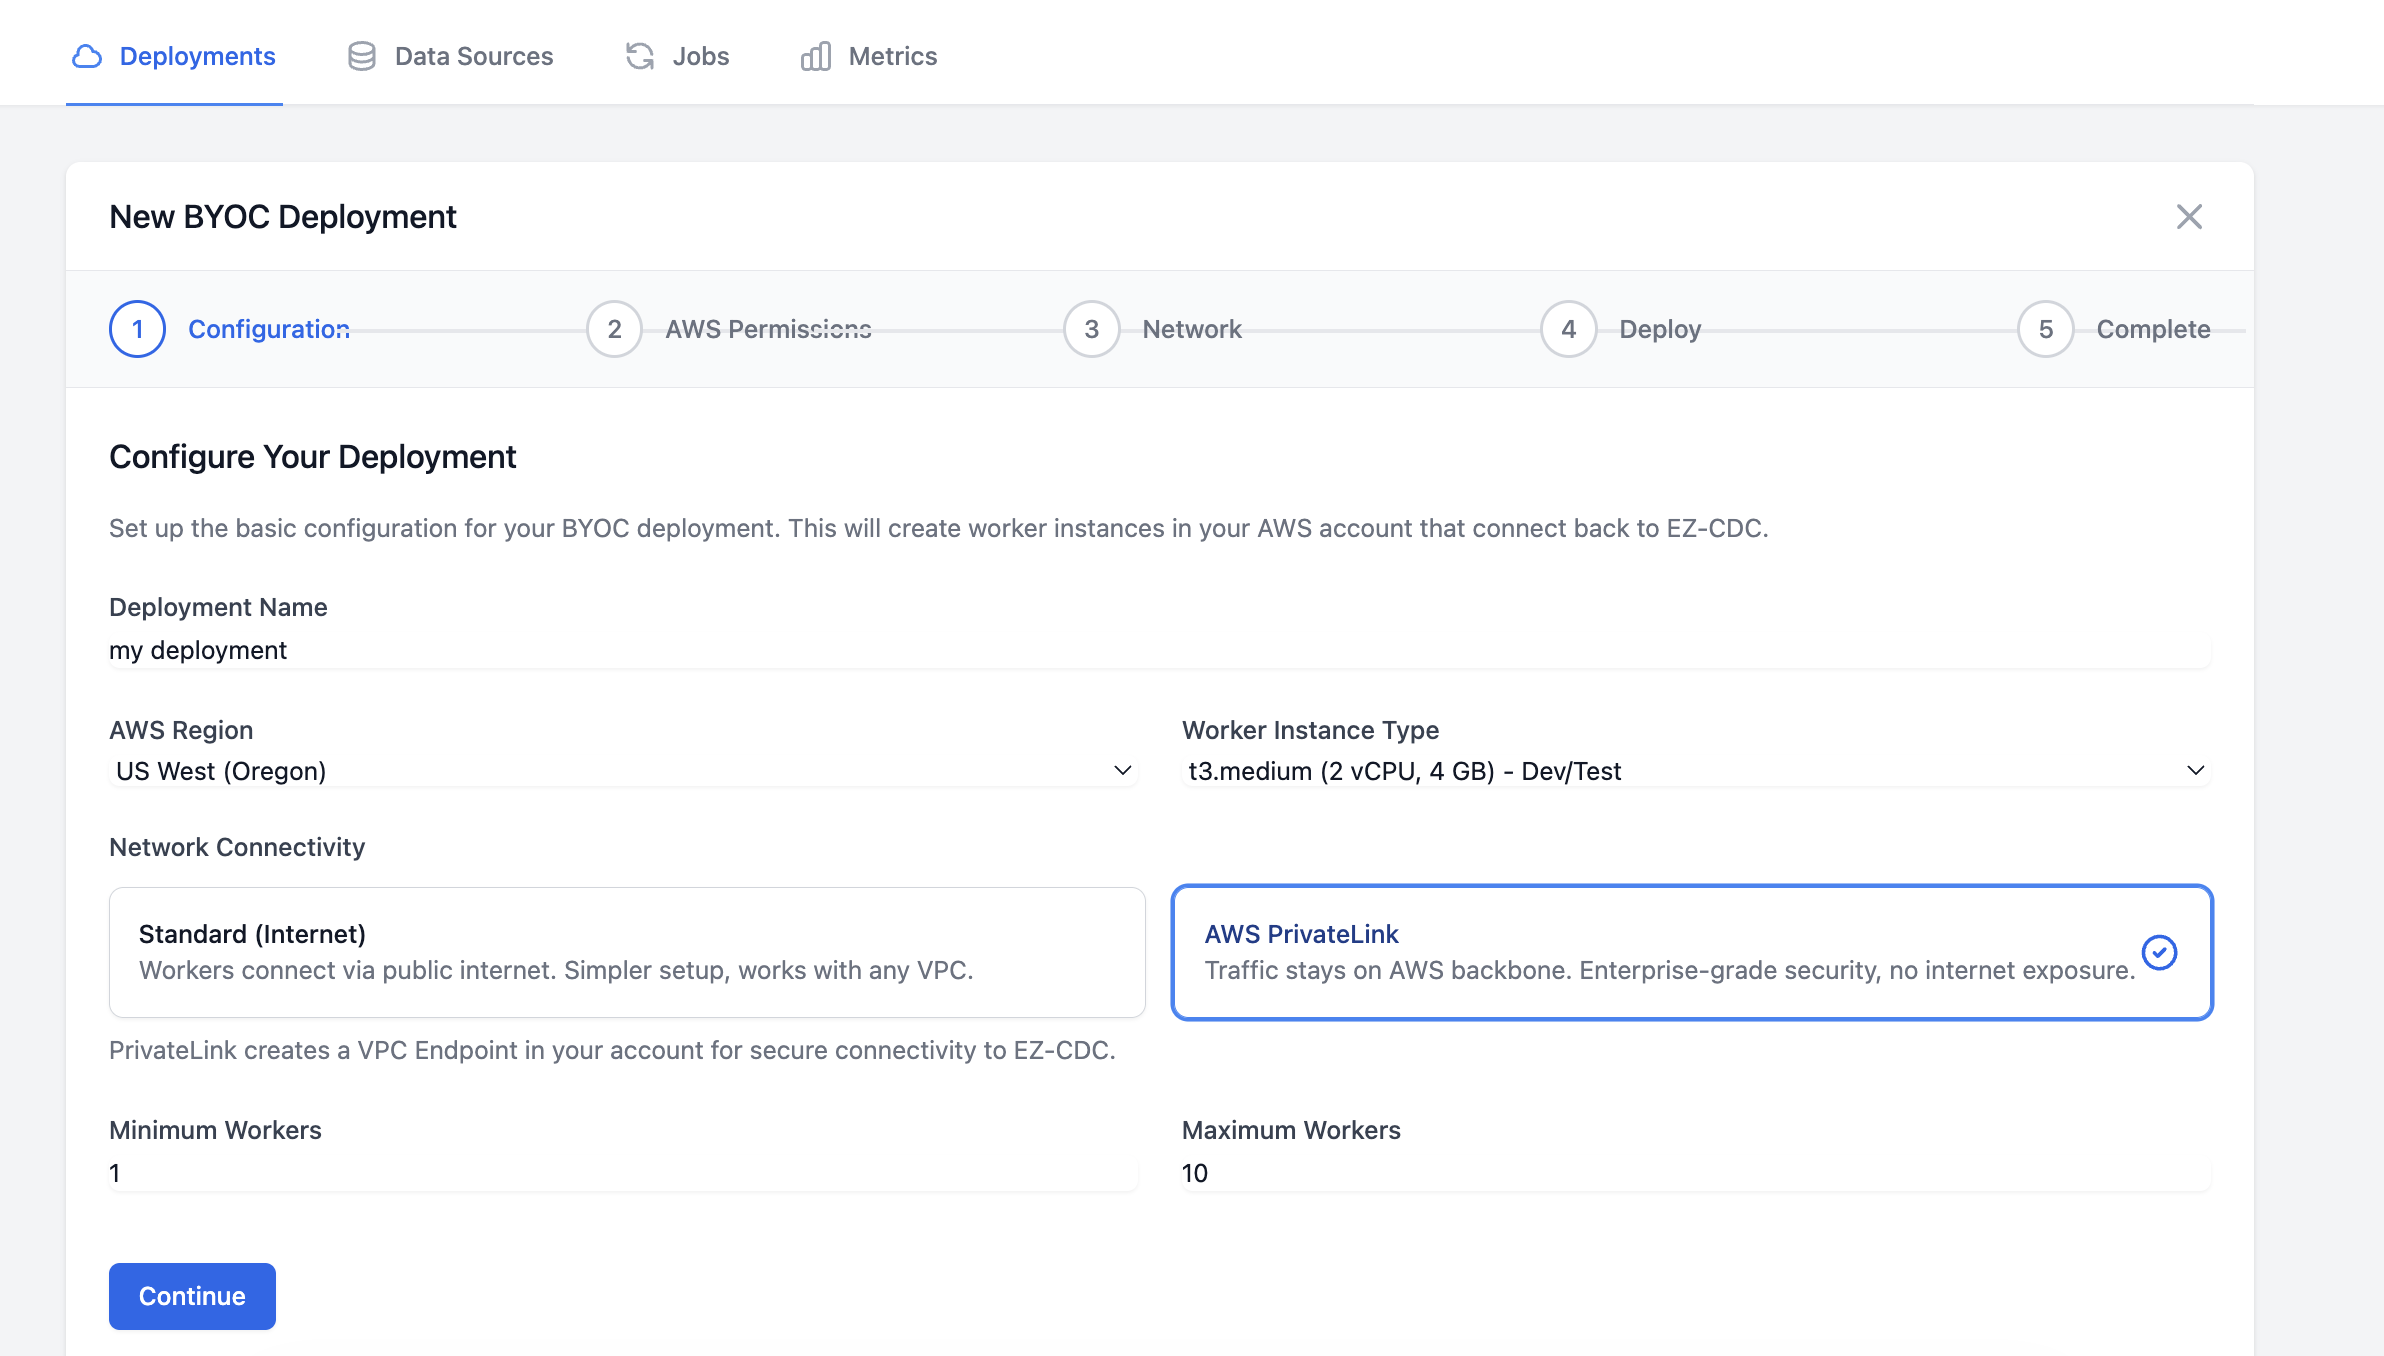
1.2 Configure Deployment
Go to Deployments and click New Deployment. Fill in your deployment configuration:
- Enter a name for your deployment (e.g., "production")
- Select your AWS Region
- Choose connectivity mode:
- Standard: Uses public internet (simpler)
- PrivateLink: Uses AWS PrivateLink (more secure)
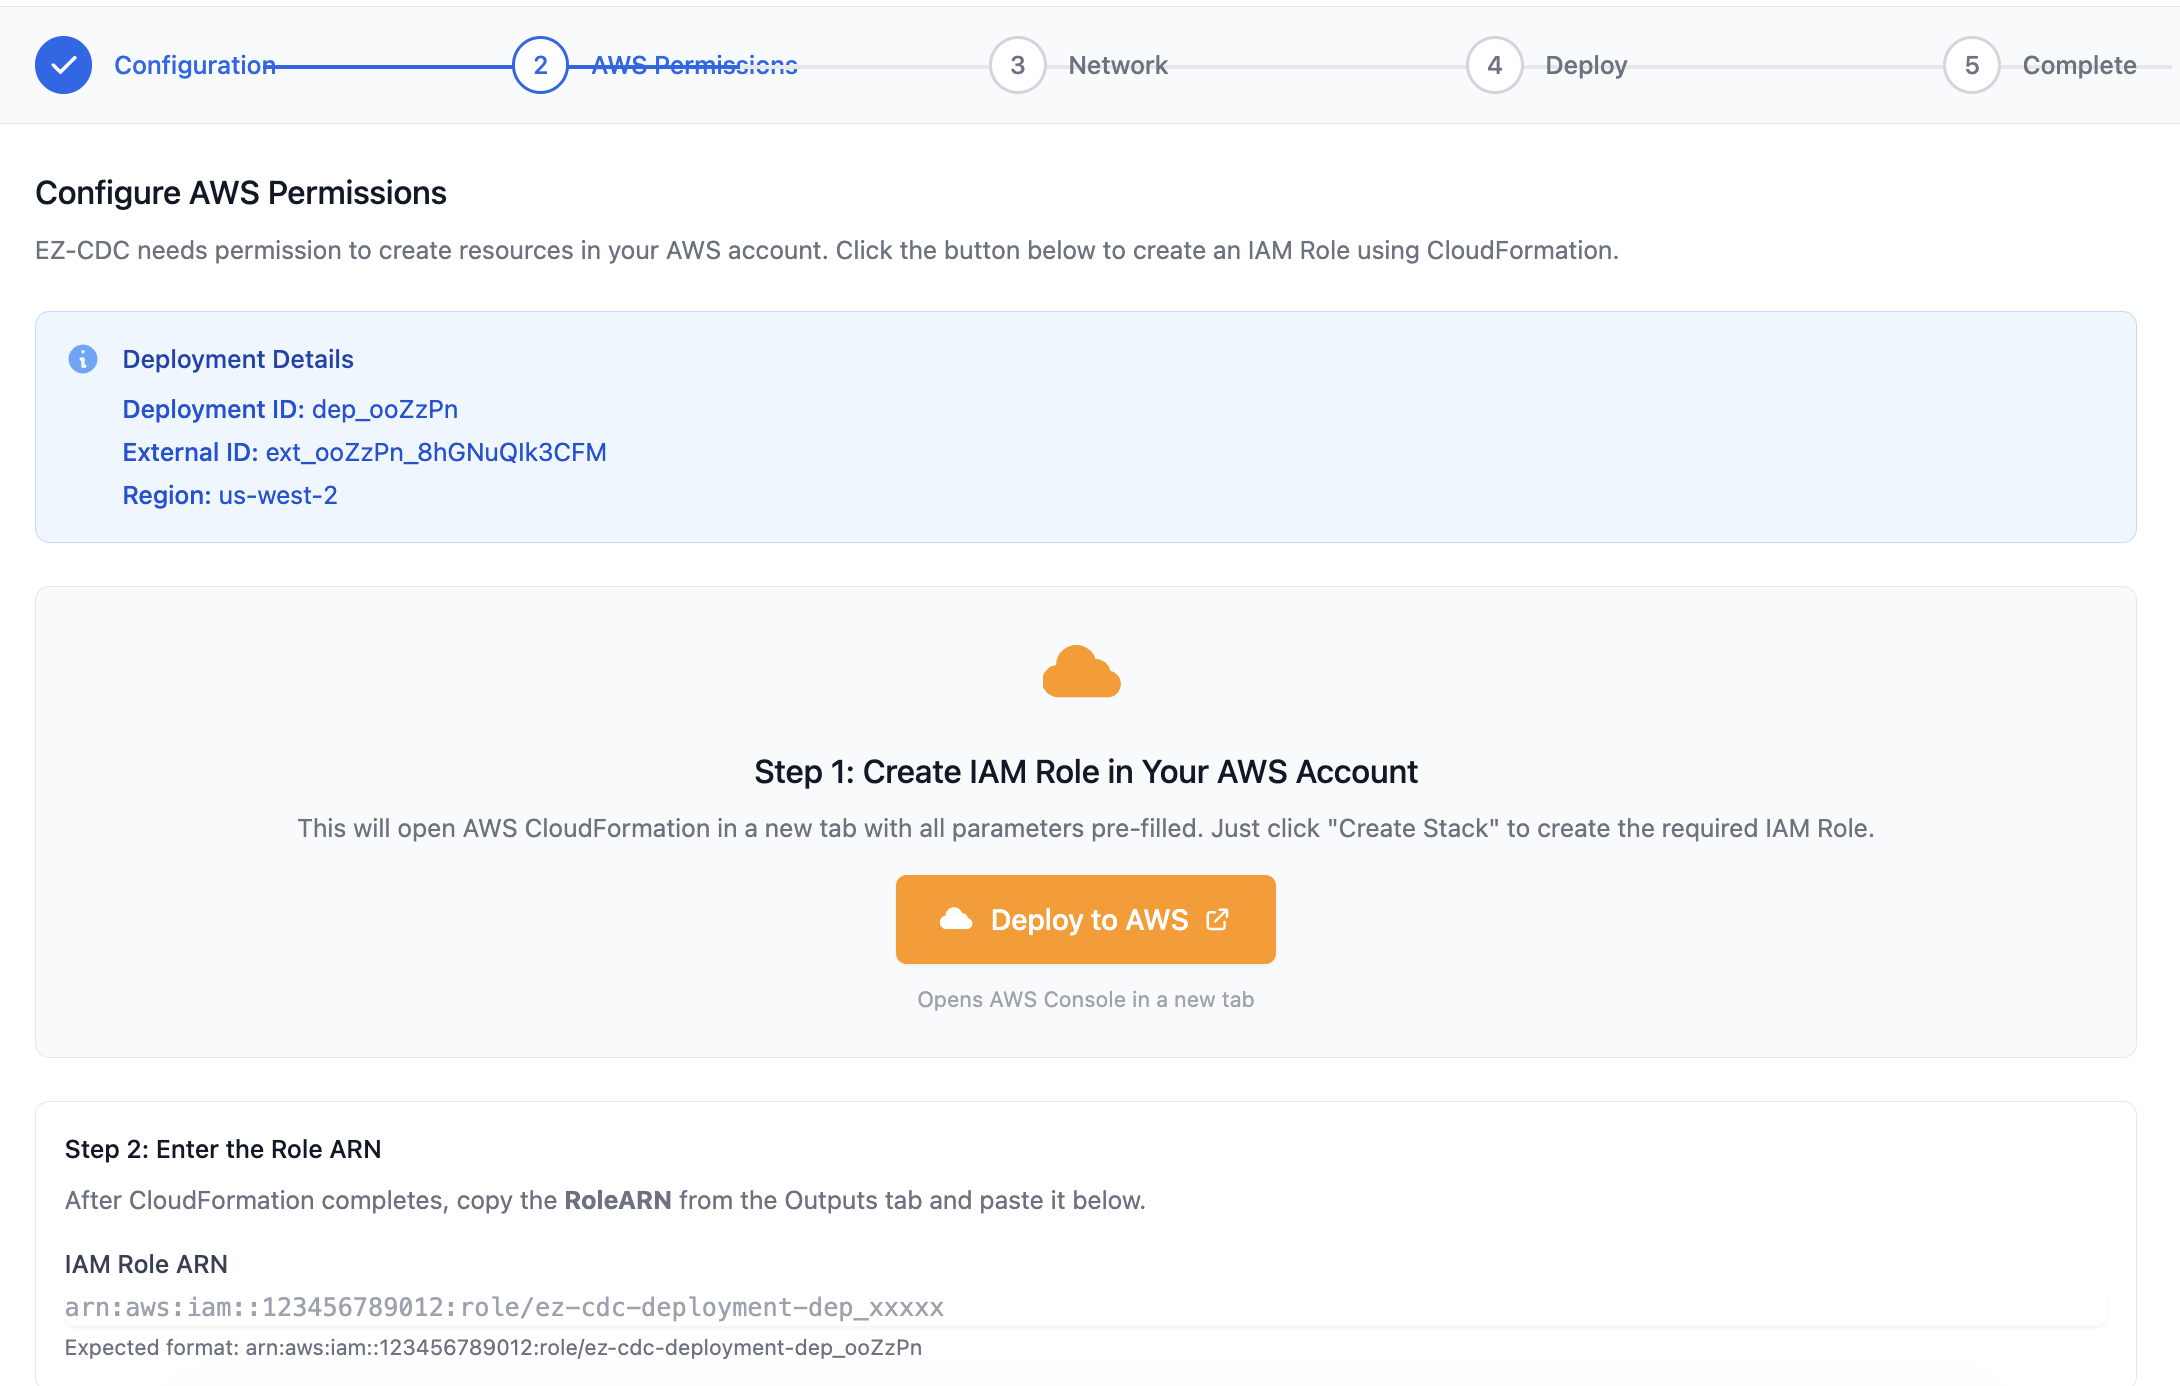
1.3 Create IAM Role
EZ-CDC needs an IAM role in your AWS account to provision resources securely:
- Click Download CloudFormation Template or use the provided template URL
- In AWS Console, go to CloudFormation → Create Stack
- Upload the template and create the stack
- Copy the Role ARN from the stack outputs
- Paste the Role ARN back in the EZ-CDC portal
1.4 Review and Deploy
After configuring your VPC and subnets, review all settings before deploying:
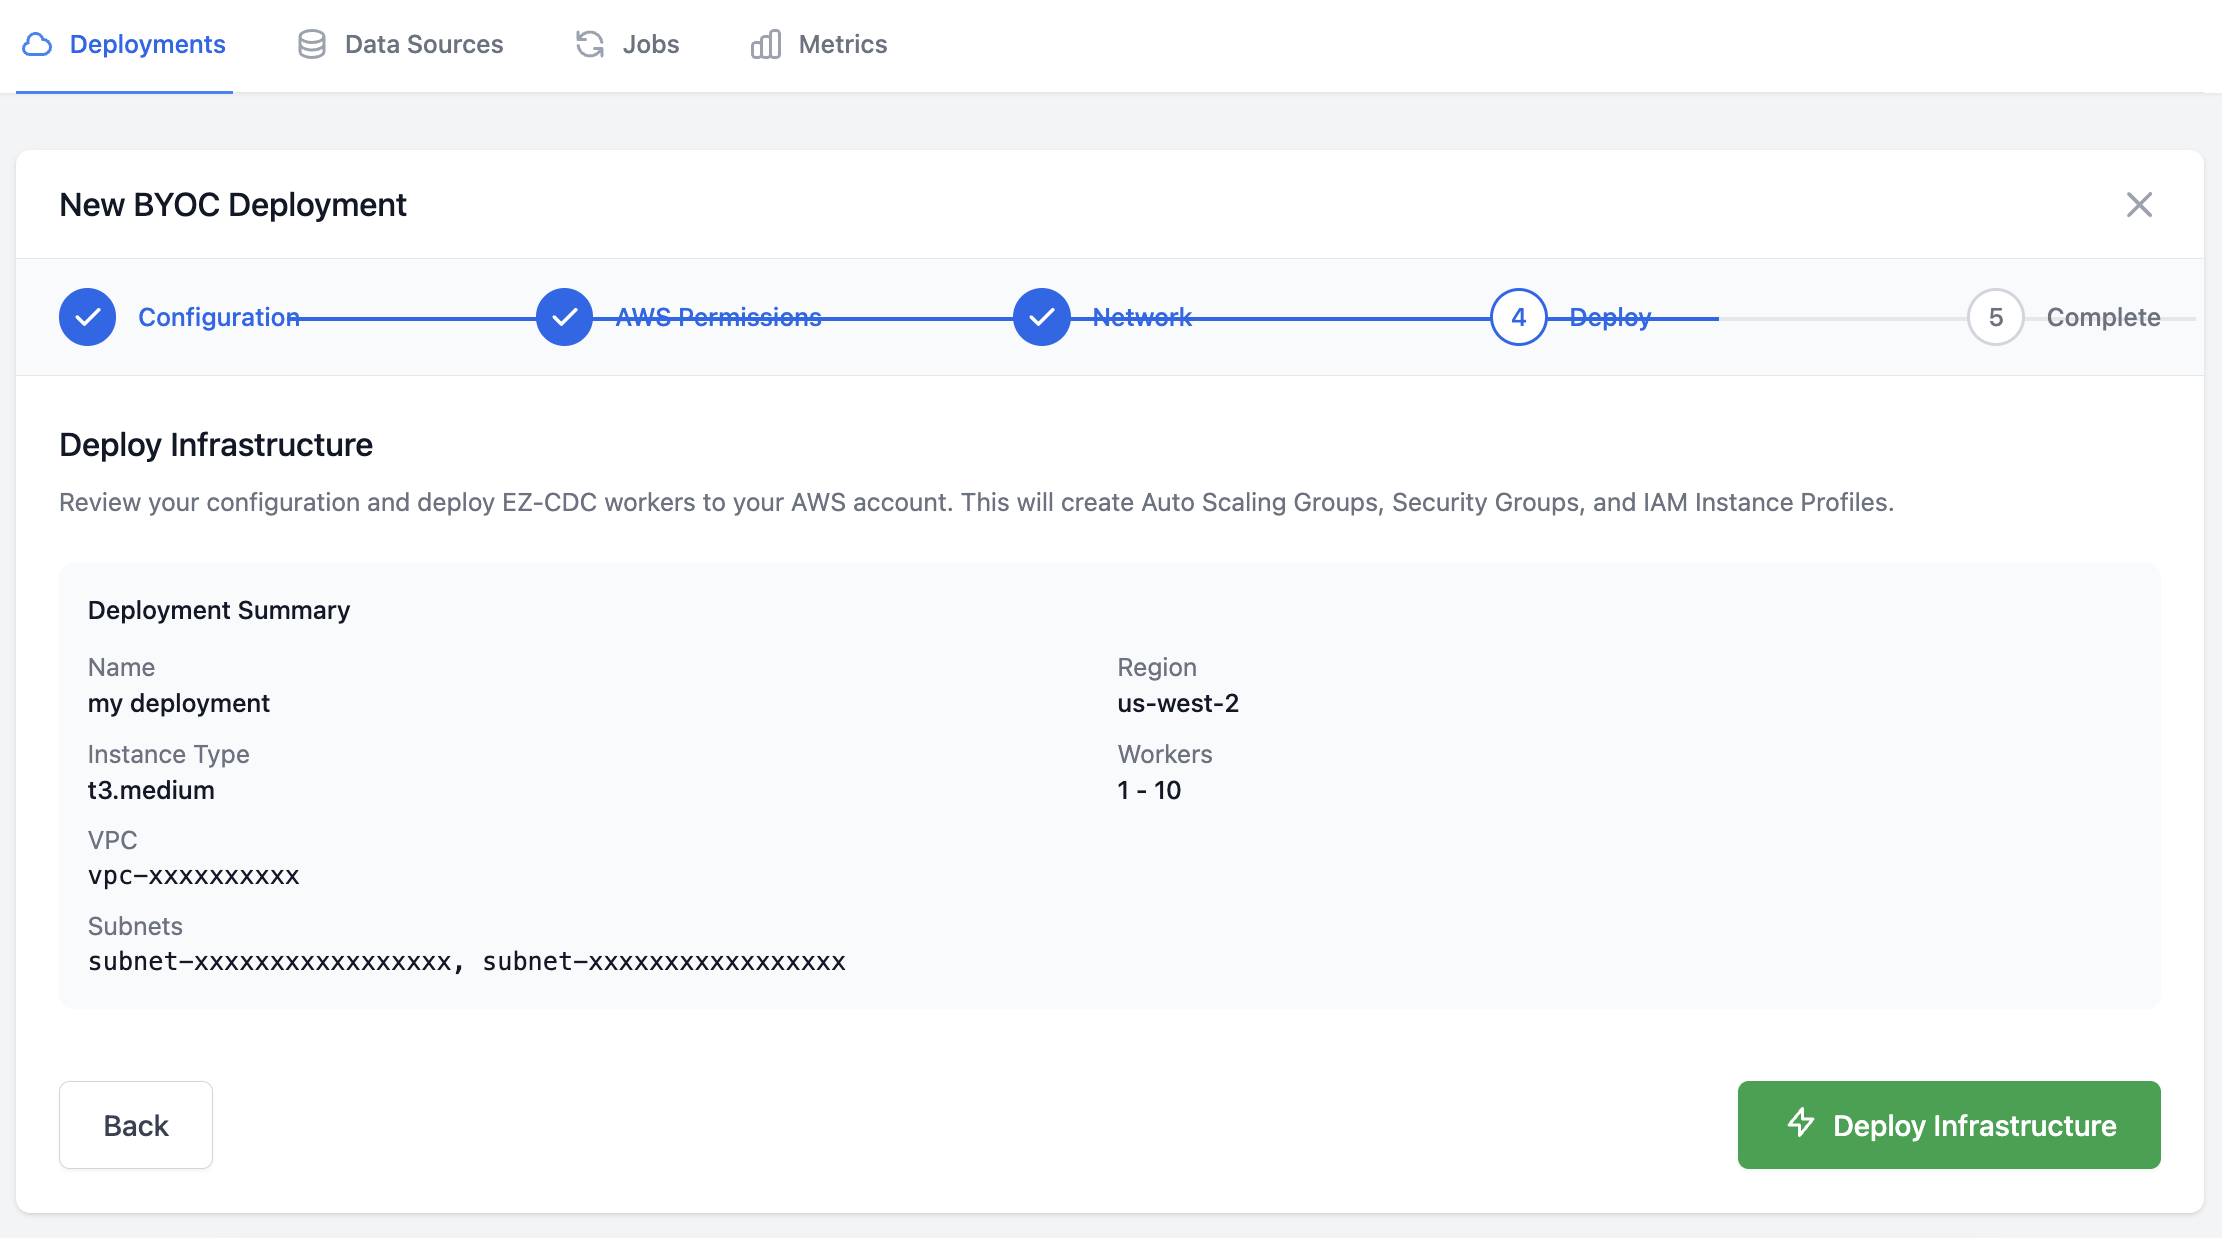
Click Create Deployment to start provisioning. The deployment will provision in 2-3 minutes.
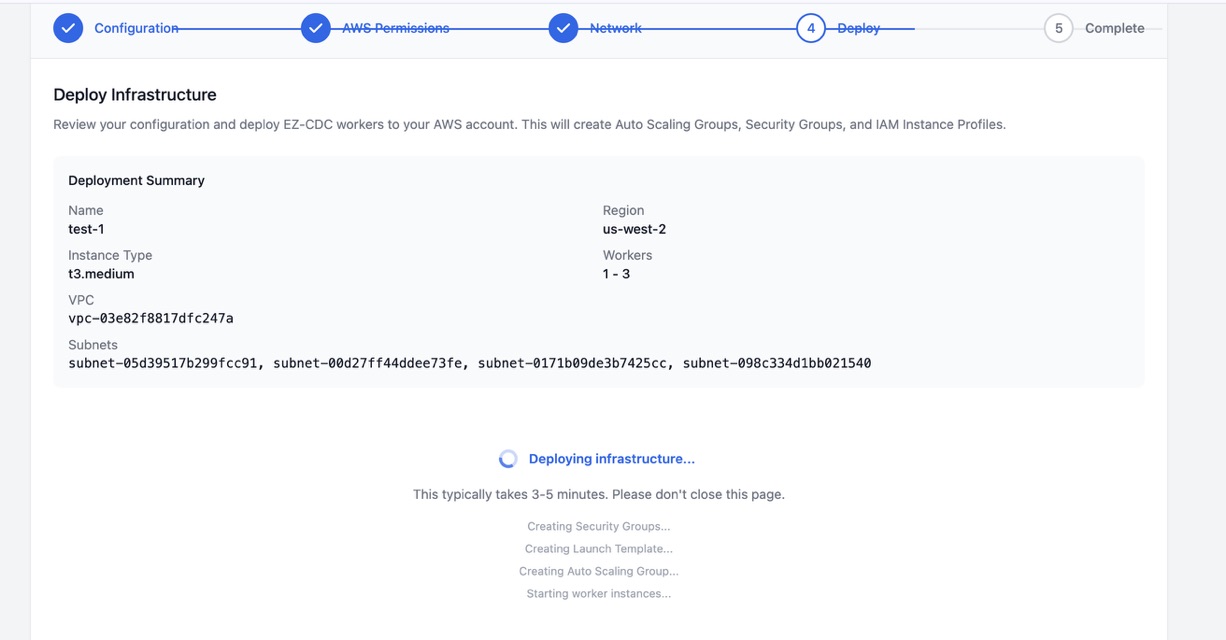
You'll see worker status turn green when ready:
Deployment: production
Status: Active
Workers: 1/1 healthy
Step 2: Add Data Sources
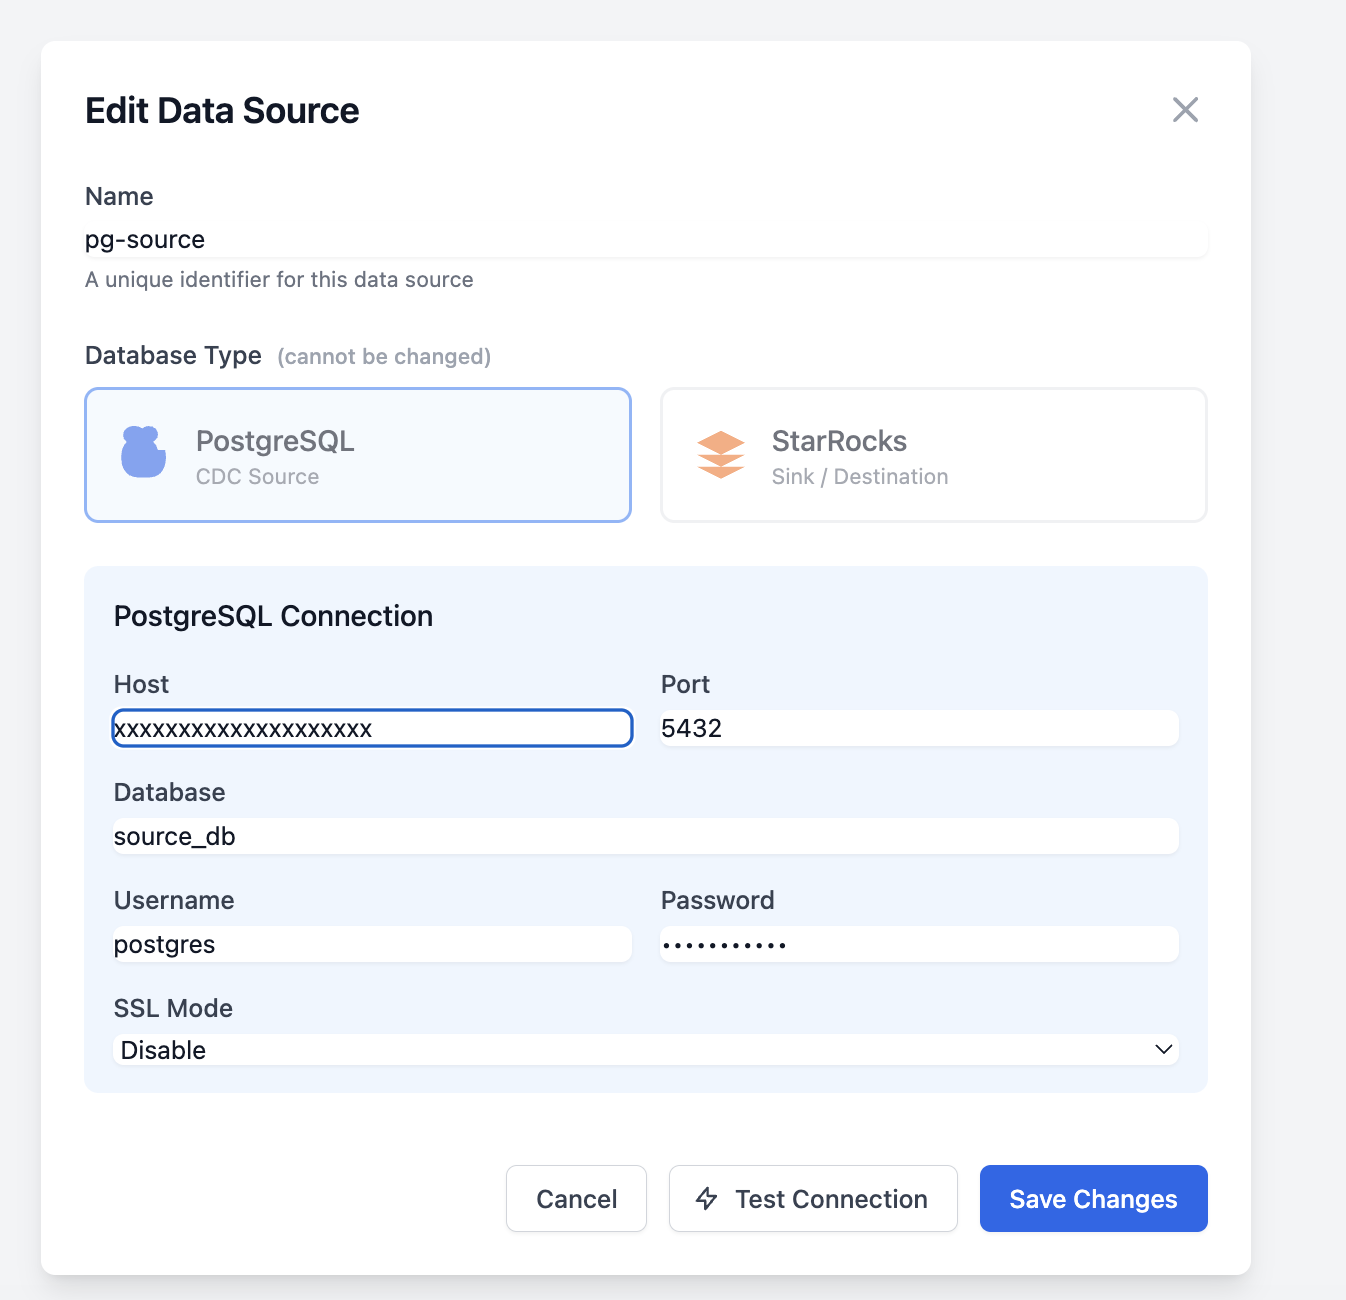
2.1 Add PostgreSQL Source
- Go to Datasources → New Datasource
- Select PostgreSQL as the type
- Enter connection details:
Host: your-postgres.example.com
Port: 5432
Database: myapp
Username: cdc_user
Password: ********
SSL Mode: require
- Click Test Connection to verify
- Click Save
Your PostgreSQL must have wal_level = 'logical' enabled. See PostgreSQL Setup for details.
2.2 Add StarRocks Sink
- Go to Datasources → New Datasource
- Select StarRocks as the type
- Enter connection details:
Host: your-starrocks.example.com
MySQL Port: 9030
HTTP Port: 8040
Database: analytics
Username: root
Password: ********
- Click Test Connection to verify
- Click Save
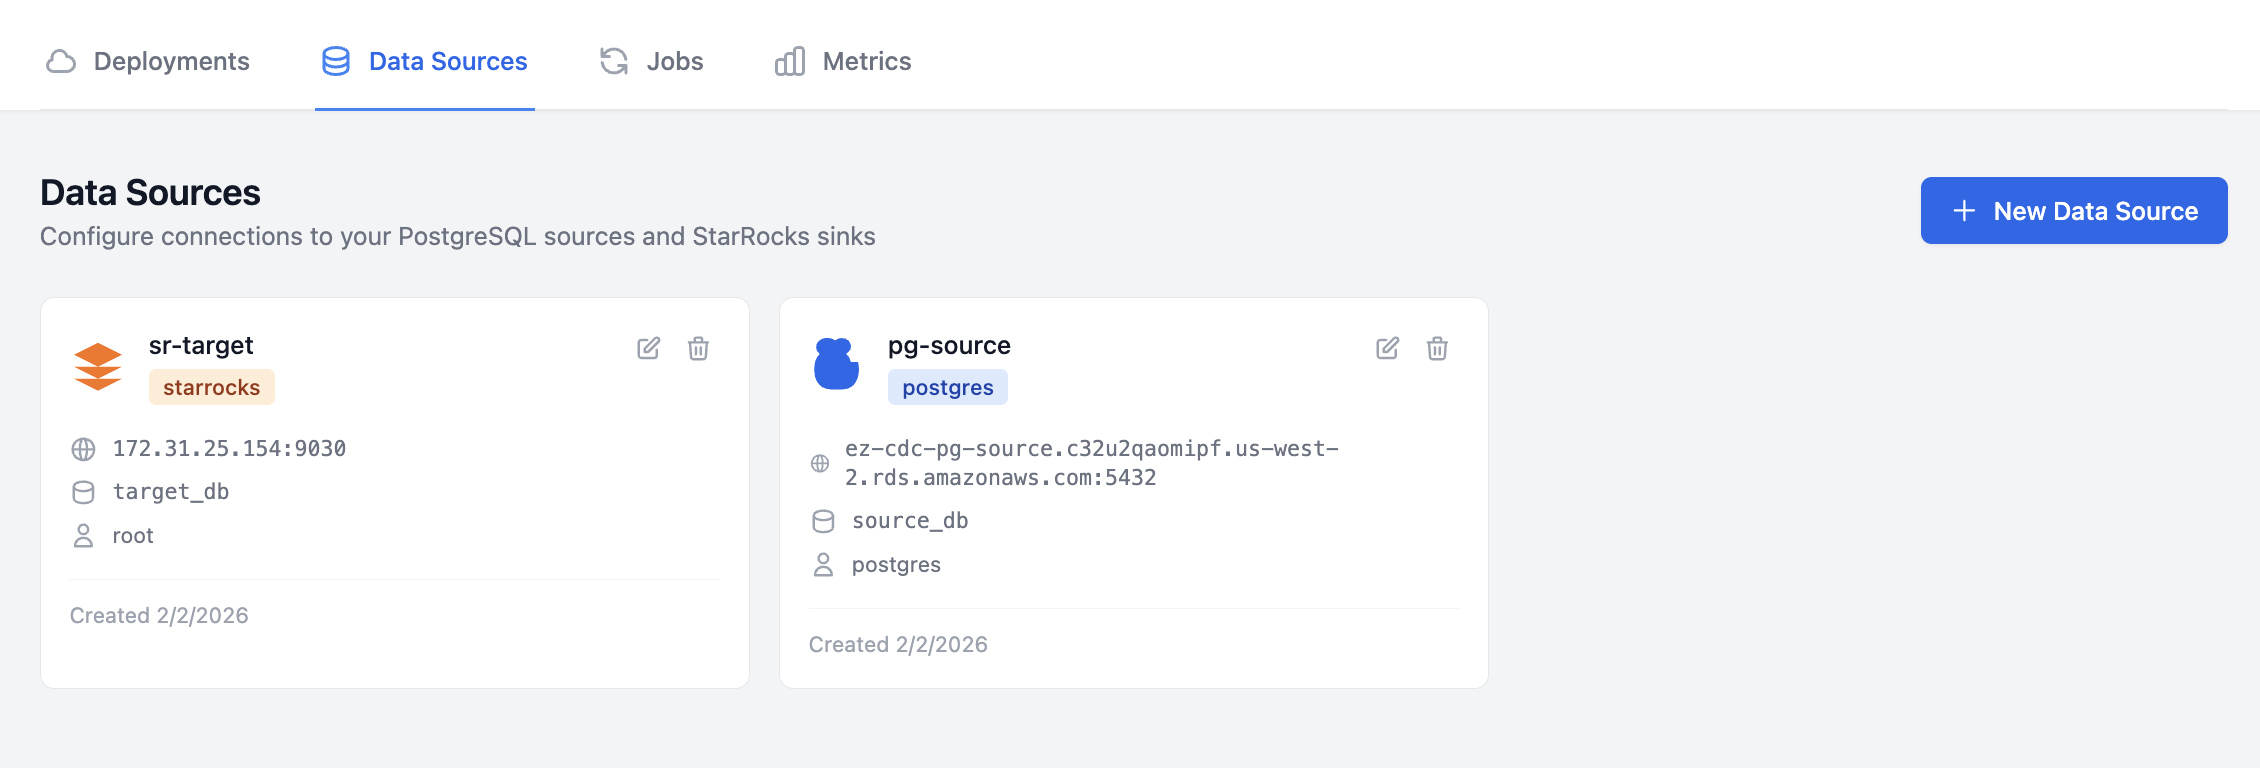
After adding both datasources, you'll see them listed:
Step 3: Create a Job
A job defines which tables to replicate from source to sink.
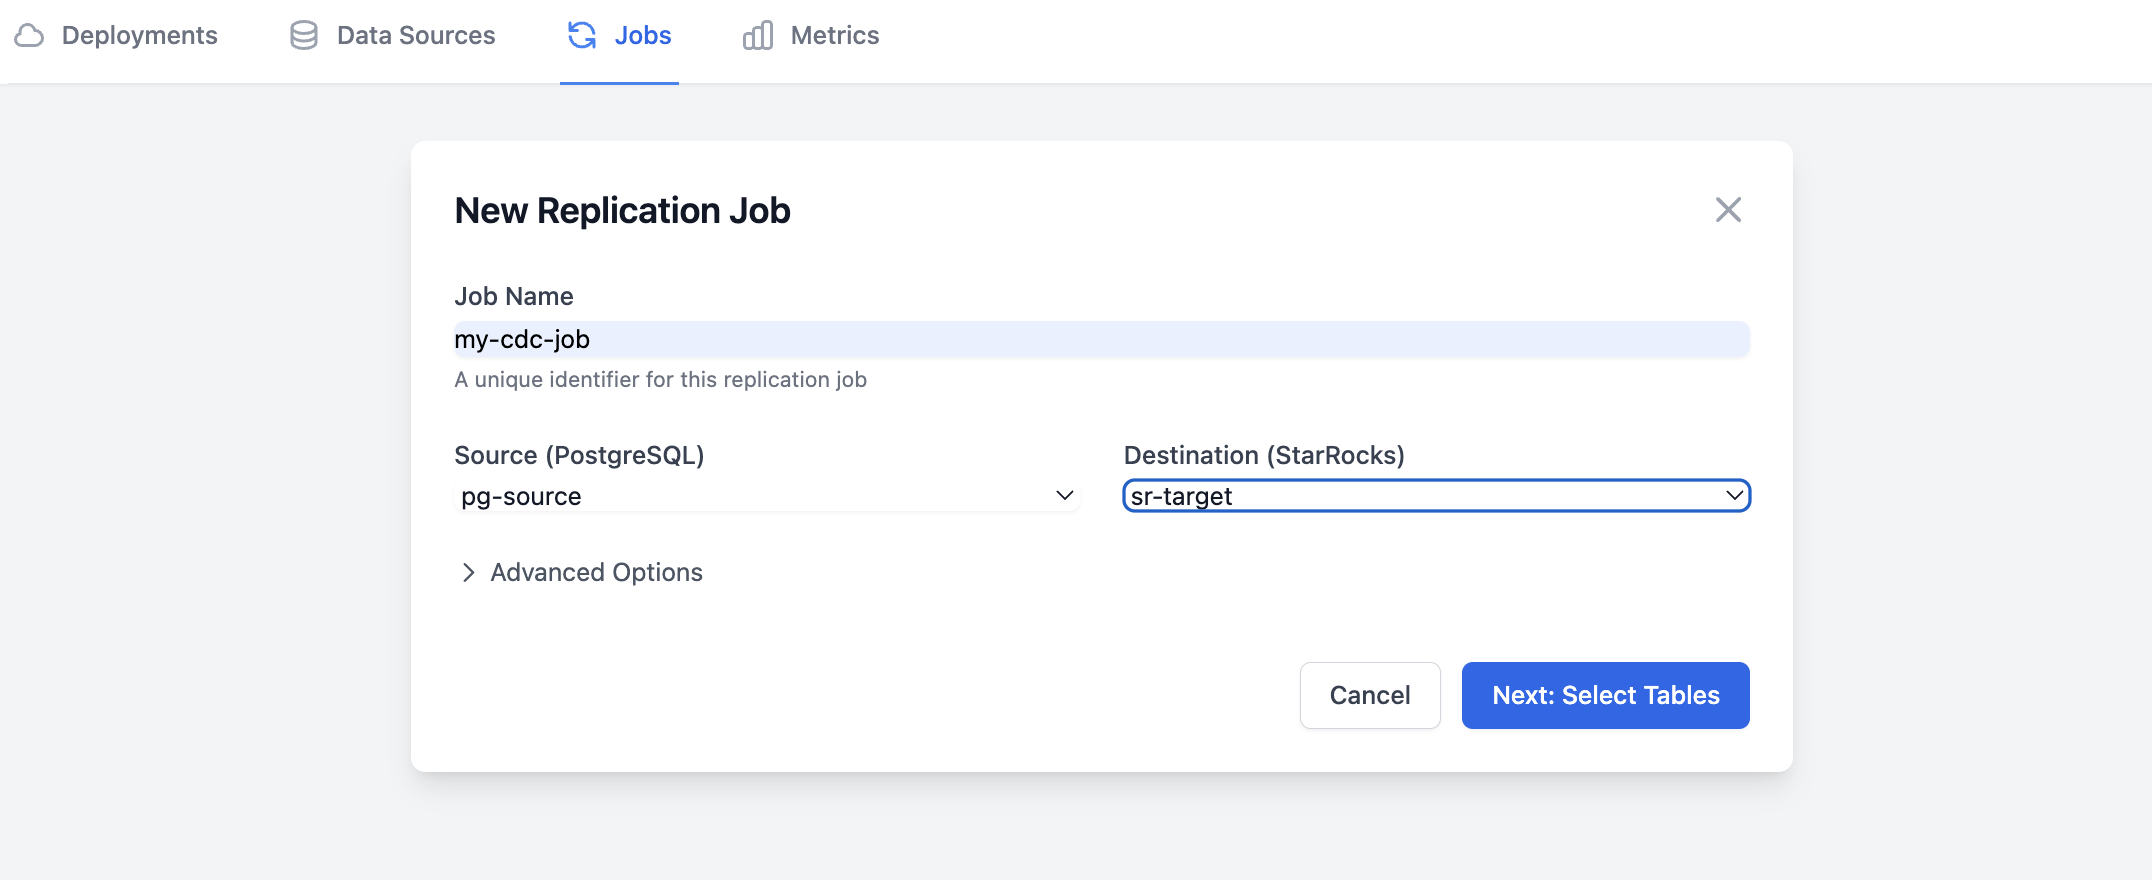
3.1 Create the Job
- Go to Jobs → New Job
- Select your PostgreSQL source
- Select your StarRocks sink
- Choose tables to replicate:
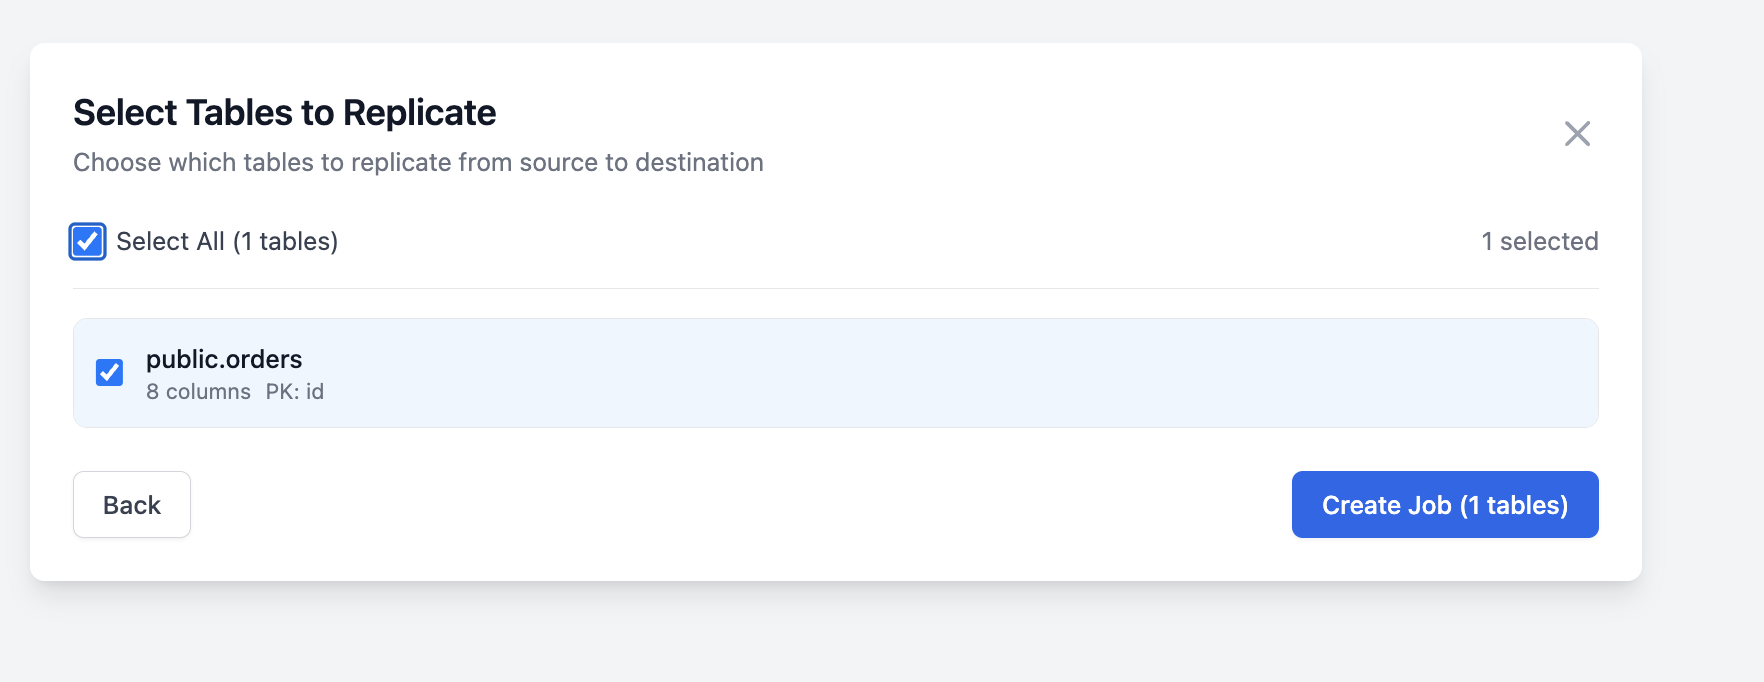
[x] public.users
[x] public.orders
[x] public.order_items
[ ] public.audit_logs
- Configure options:
| Option | Value | Description |
|---|---|---|
| Replication Slot | ezcdc_slot_1 | PostgreSQL slot name |
| Publication | ezcdc_pub_1 | PostgreSQL publication |
| Batch Size | 10000 | Events per batch |
- Click Create Job
3.2 Monitor the Job
The job will start automatically. Monitor progress in the portal:
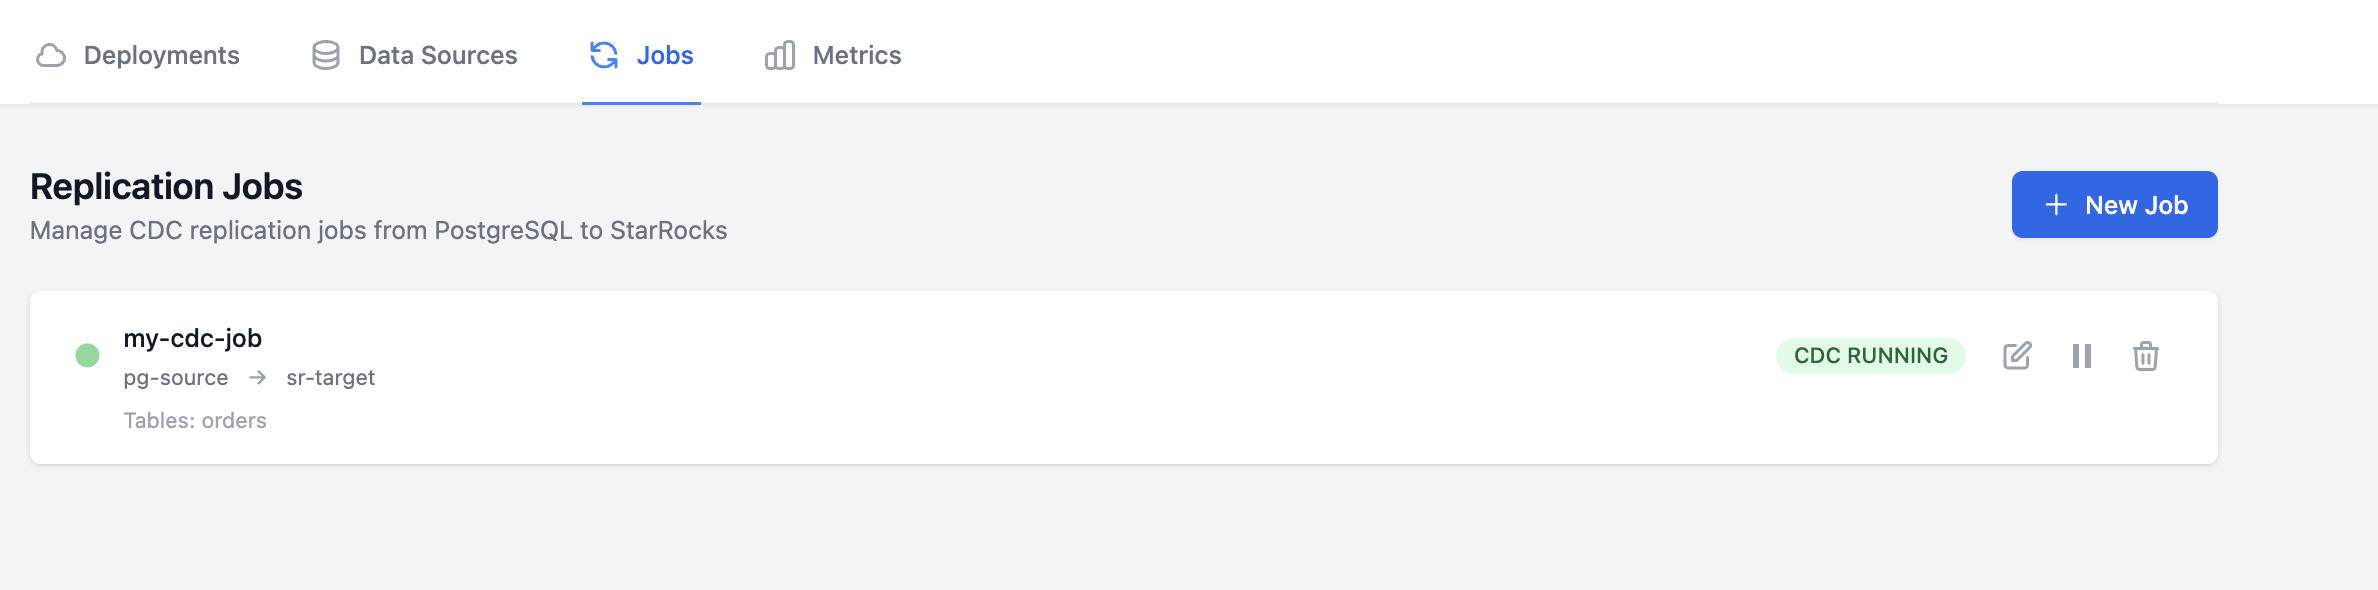
Job: postgres-to-starrocks
Status: Running
Events/sec: 1,247
Lag: 0.5 KB
Tables: 3
Step 4: Verify Replication
Check StarRocks
Connect to your StarRocks cluster and verify data is flowing:
-- Check row counts
SELECT COUNT(*) FROM users;
SELECT COUNT(*) FROM orders;

-- Check audit columns (added automatically)
SELECT
  id,
  name,
  _cdc_updated_at,  -- When the row was last modified
  _cdc_deleted      -- Soft delete flag
FROM users
LIMIT 5;
Check Metrics
In the EZ-CDC portal, go to Jobs → your job → Metrics:
- Throughput: Events processed per second
- Lag: Bytes behind the source WAL
- Latency: Time from change to replication
Troubleshooting
Job stuck in "Pending"
- Verify workers are healthy in Deployments
- Check worker can reach both source and sink databases
Connection test fails
- Verify security groups allow worker access
- Check database credentials are correct
- Ensure SSL settings match your database
High replication lag
- Increase batch size for higher throughput
- Check sink database performance
- Consider adding more workers
Next Steps
Congratulations! You've set up your first CDC pipeline. Continue learning:
- Job Lifecycle - Understand job states and transitions
- Monitoring - Set up alerts and dashboards
- PrivateLink - Enable enterprise connectivity
Complete Example
Here's a visual summary of what you've built: